Globus Guide for External (non-UoB) Users
This User Guide is intended to help external (non-University of Birmingham "UoB") users share large amounts of data (GBs to TBs) with researchers at the University of Birmingham via the BEAR Data Transfer service, which uses Globus. For internal users of the BEAR Data Transfer Service please see information on our Using Globus page.
We recommend external users also refer to the generic Globus documentation available at How To Share Data Using Globus.
First, you will need to install the Globus Connect Personal Client to turn your computer into a Globus endpoint (see https://www.globus.org/globus-connect-personal) and create an account if you do not already have one.
In the example below, Christopher from UoB is inviting an external collaborator (Aslam) to the folder 'Share for Aslam' so that Aslam can either download files from it or upload to it.
Downloading Files from an Endpoint
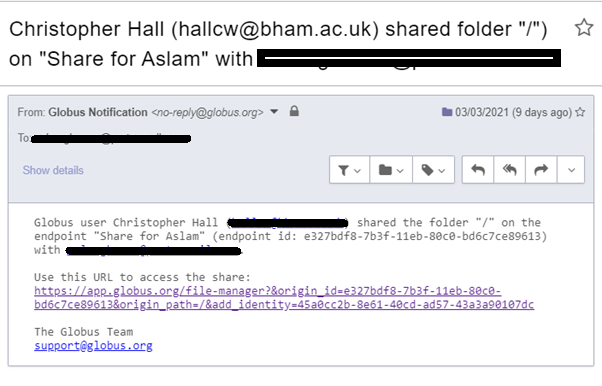
When you are successfully invited to use BEAR Data Transfer, you should receive an email, similar to the one below.
-
Use the URL in the email to get access to the folder (you can copy and paste it into your browser), the link will direct you to authenticate yourself.
-
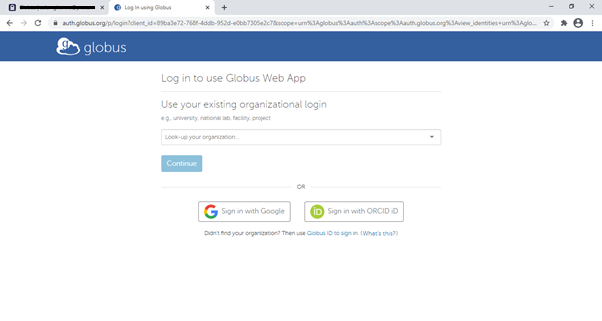
Once you've pressed enter it will go to the following page:
-
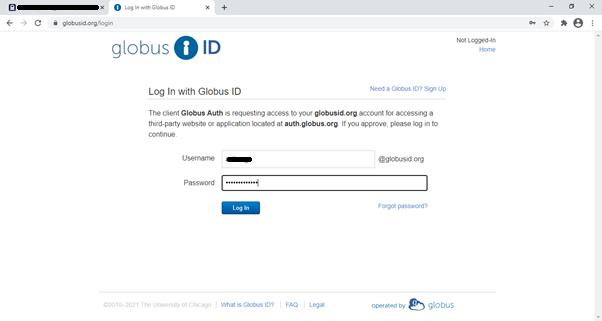
Login using your Globus ID credentials:
-
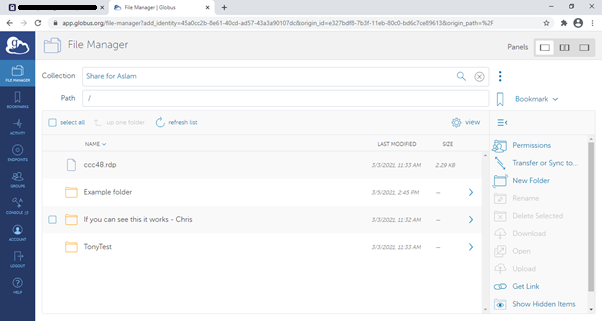
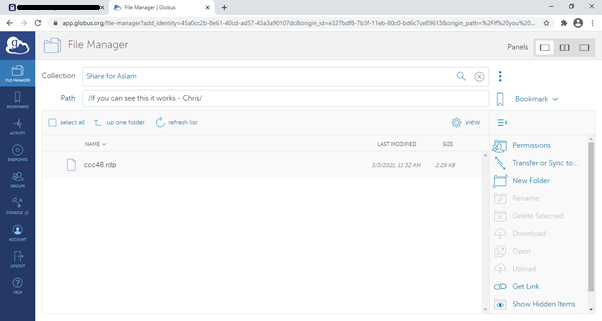
You will be faced with the File Manager view, which shows the folder 'Share for Aslam' which Christopher invited Aslam to:
-
Clicking on the folder that was shared with you will reveal any subfolders within it:
-
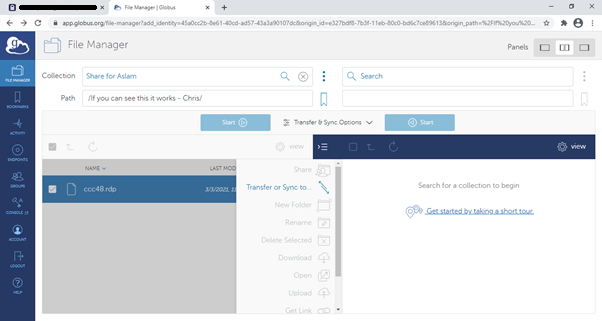
Select the file or folder you want to download and click on 'Transfer' to download it to your computer.
You will then be prompted to search for the endpoint (your computer) you want to transfer the data to:
-
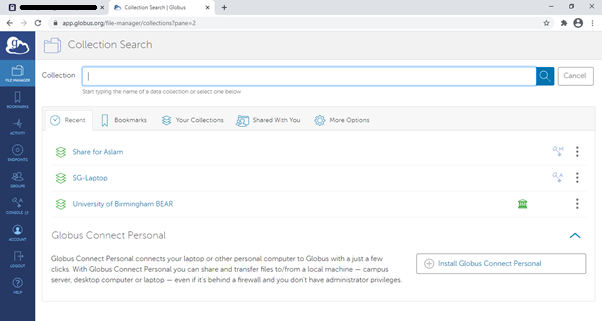
On the right-hand side you will see Search, click on this to locate the endpoints that you wish to download the data to -- in this example 'SG-Laptop' is the destination (endpoint) for the data:
-
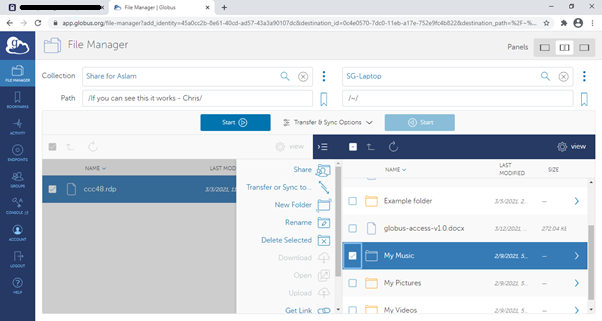
Select the endpoint and then the folder on your computer that you wish to download the data into, in this example 'My Music':
-
Press the Start button to initiate a download to your computer. You will see the following pop-up:
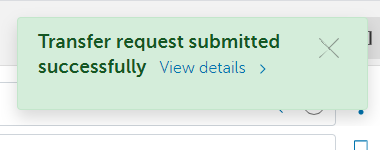
If you click on 'View details' you will see the following page:
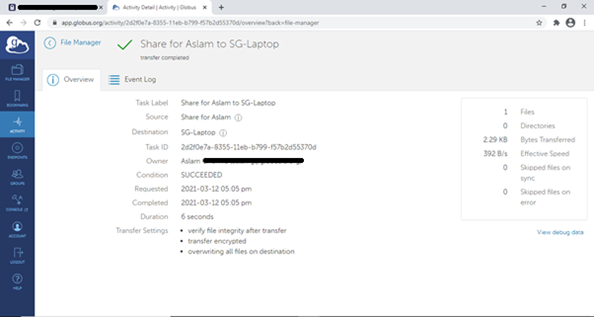
The data transfer will take time depending upon how much data is to be transferred.
-
Check the destination directory for the files.

An email will also be sent to confirm that the data has been copied over.
Uploading Data to the Endpoint
In order to upload data to the endpoint e.g. so that Christopher can receive files that Aslam has shared, you will need to change the Collection.
-
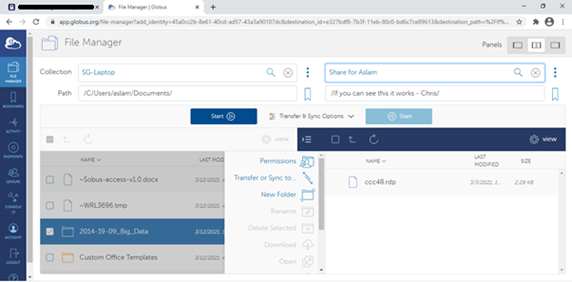
Select the endpoint where the data is and navigate to the relevant folder path. In this example the collection/endpoint is from the SG-laptop and the folder path is
/Documents. The files need to be uploaded to the endpoint that Christopher shared with Aslam -- 'Share for Aslam'. -
Select the folder and click on 'Start':
-
You should see a pop-up window:
-
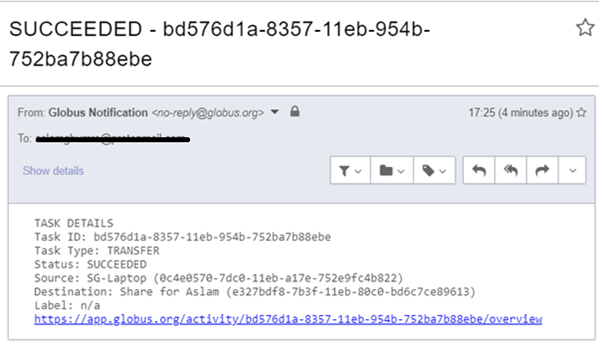
Click on the refresh button on the top of the page to see if the transfer has started. You should receive an email when the upload has been successful:
Further Information
Further general information on using Globus can be found here: https://docs.globus.org